I was finally able to upload my pattern to ravelry.com!! WooHoo!!! I’m going to take a few minutes and add this up here, as well. If you’d like the free PDF download, just folow this link: http://www.ravelry.com/patterns/library/funny-bunny-hat-2
|
To do this pattern, you’ll need to know how to: ~Make a magic ring, or crochet multiple stitches into the last stitch from the hook. ~Increase (incr) – crochet two stitches into the same stitch. ~Decrease (dec) or Stitch 2 Together – ~Chain stitch (ch) ~Slip stitch (slst) ~Single crochet (sc) ~Half double crochet (hdc) |
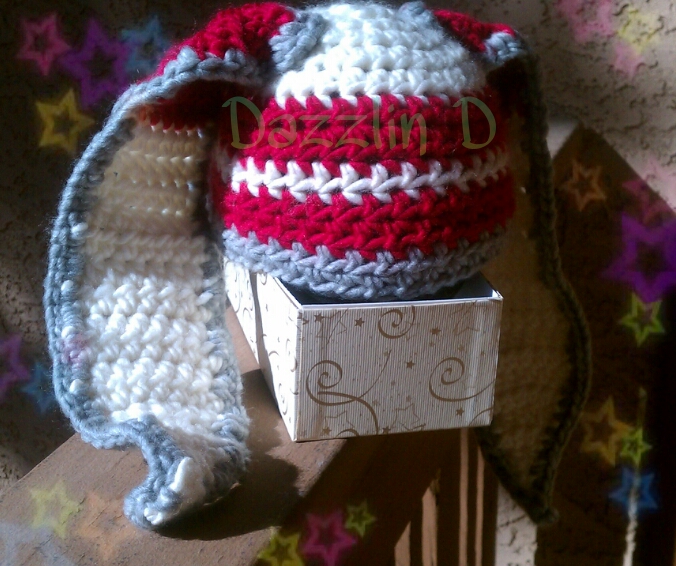
Funny Bunny Hat:
| What you’ll need:
~ Size K crochet hook ~Bulky weight yarn in 3 colors; I used Bernat Roving in Rice Paper, Cherry, and Putty. ~ Yarn needle |
Before you begin!! This hat is worked in the round and joined at the end of each round. The ch 2 at the beginning of the round counts as the first hdc and you will be doing your first actual stitch in the same stitch you slst into. There are a lot of ways to start a hat working the round. I’d like to show you two of them, and please feel free to use whichever is easier for you (or if you have another way to do it that works, right on!).
The first method I’m going to show is that magic ring. Many people like the magic ring because it gives you a very tight closure at the top of a hat, or anything worked in the ring.
1.Make your first stitch on your chain, but leave it very loose. 
2. Put your hook on the loop you usually use and chain two.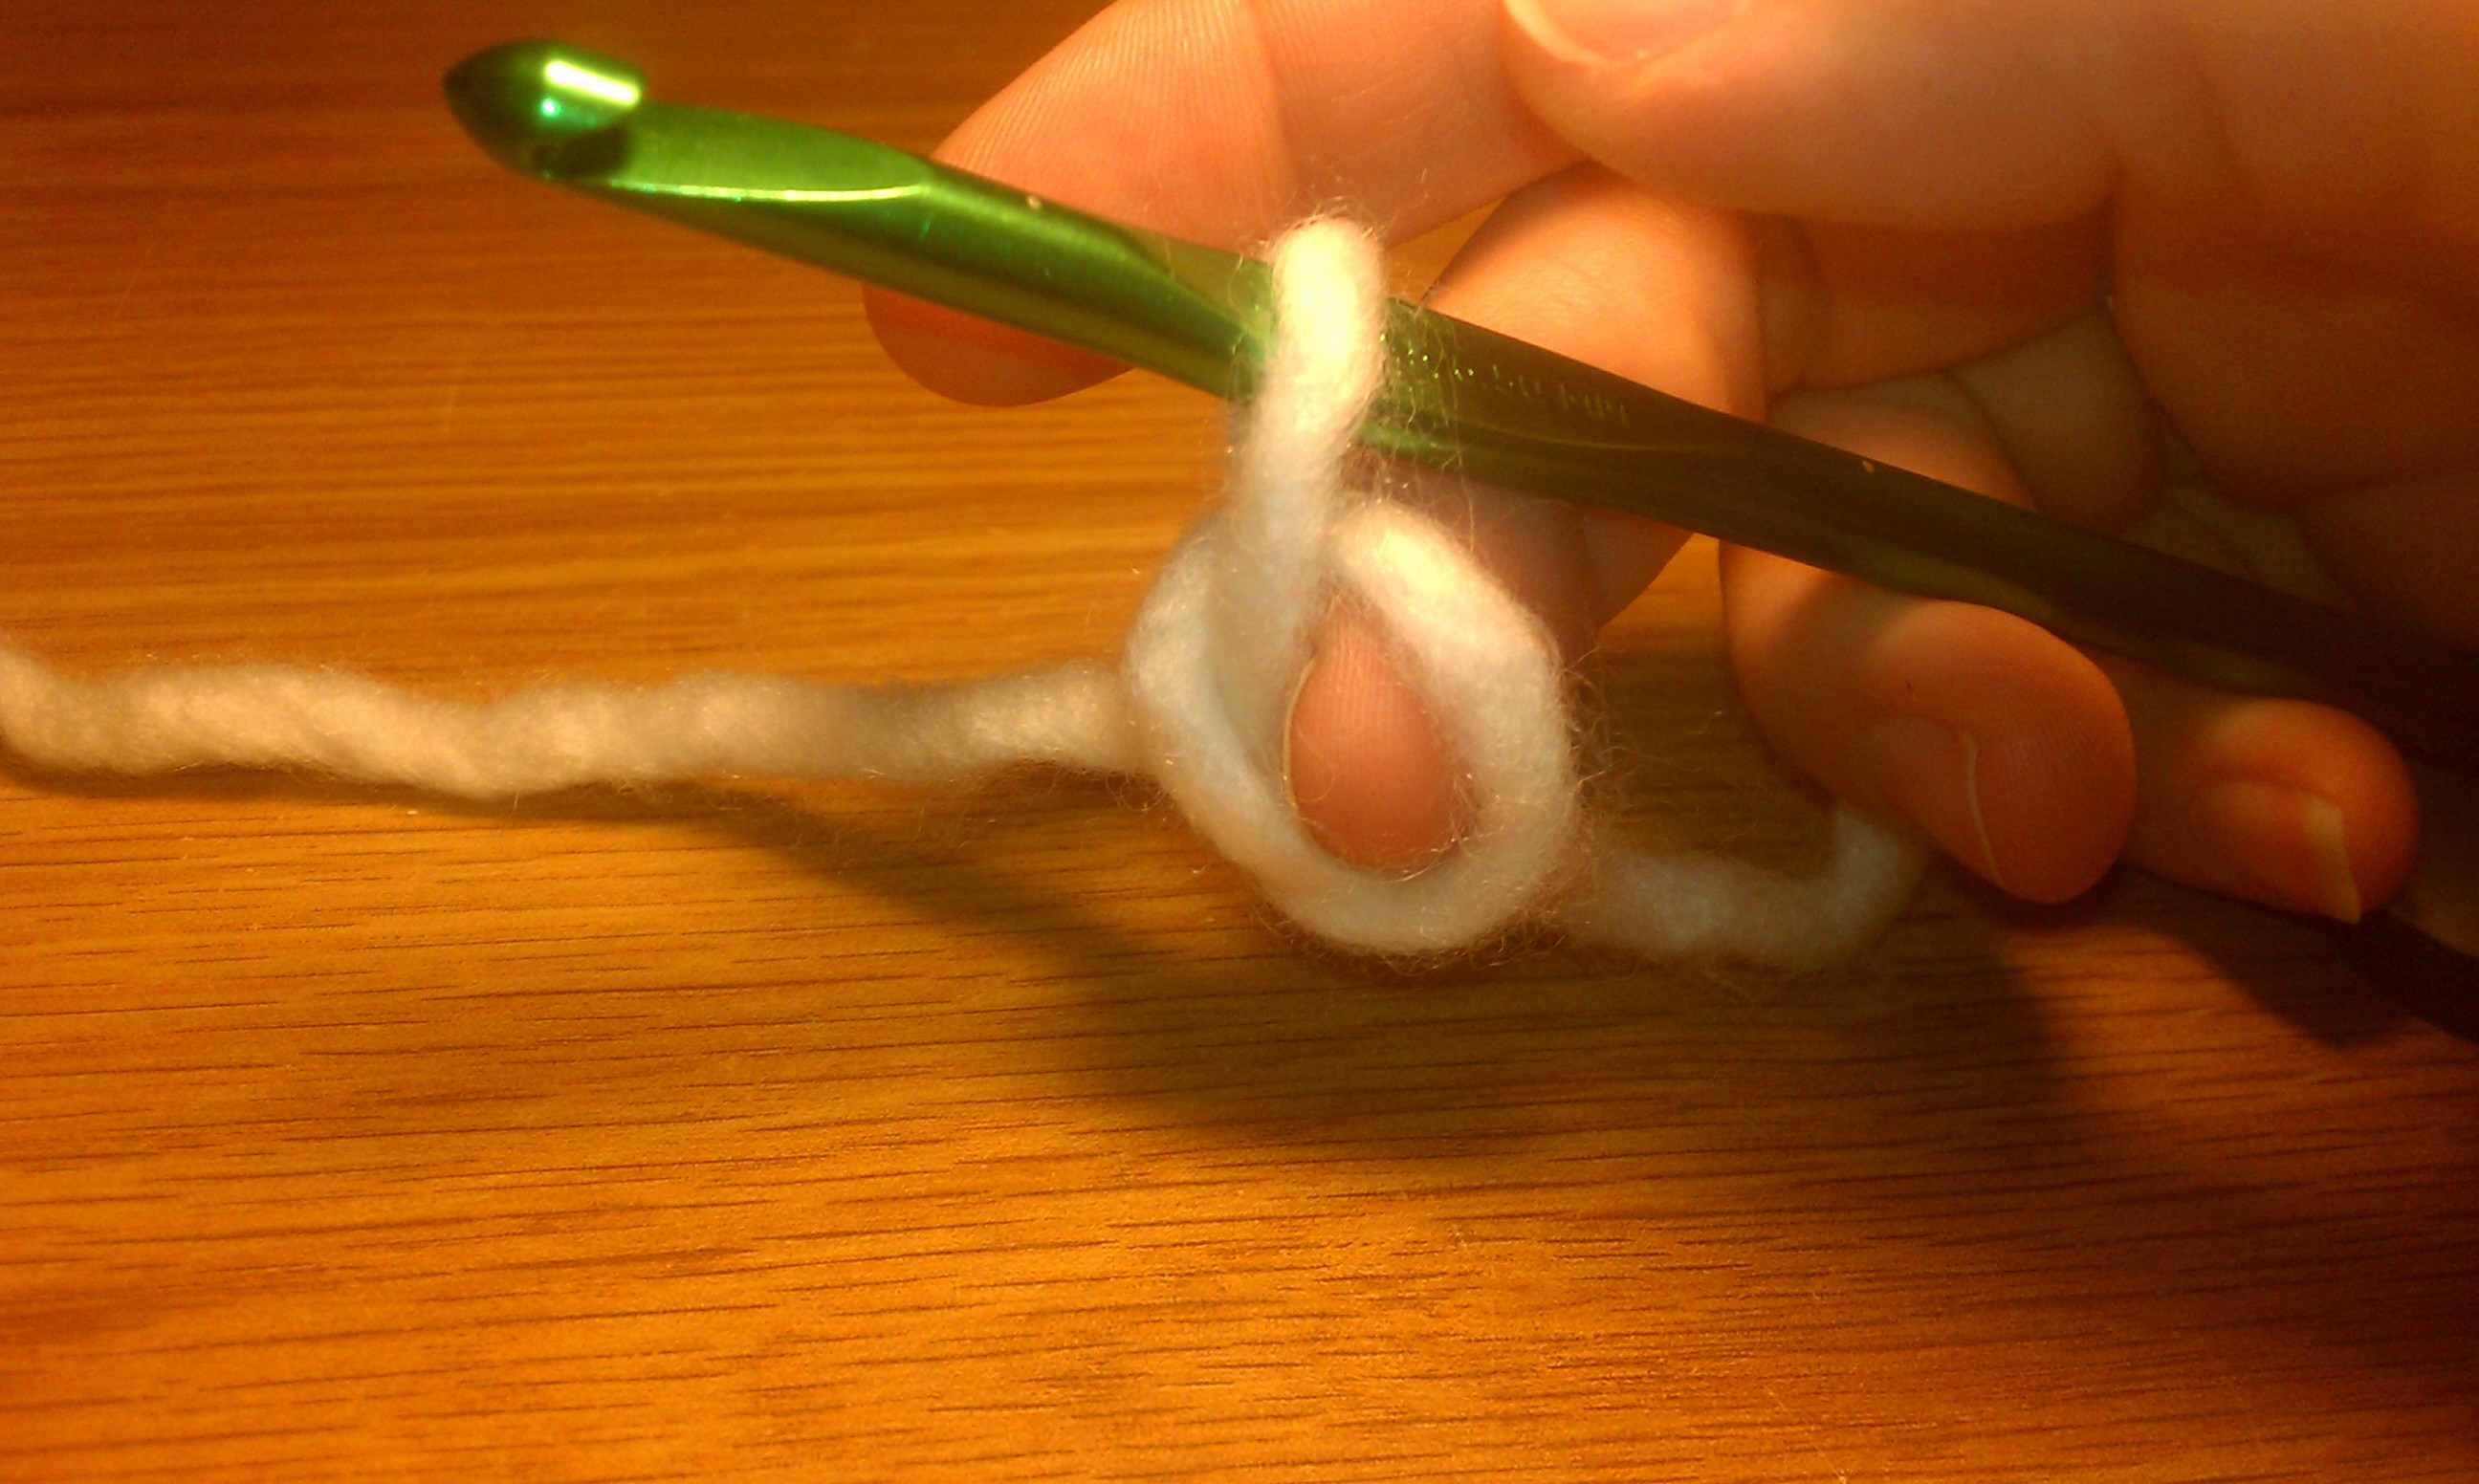

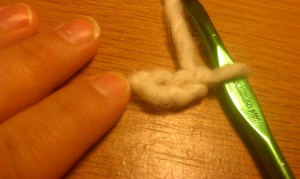
3. Make seven hdc in the ring, and then using the tail, pull the ring closed.
The second method I’m going to show is to put multiple stitches in the last stitch from the hook.
- Chain 3
- In the last stitch from the hook hdc 7 times


- Slst into the top of the first hdc to join.
Toddler size Hat
Round 1. Using color A, create your magic ring. 7 hdc into the ring, pull tight and slst to the top of the first stitch to join, ch 2 (8)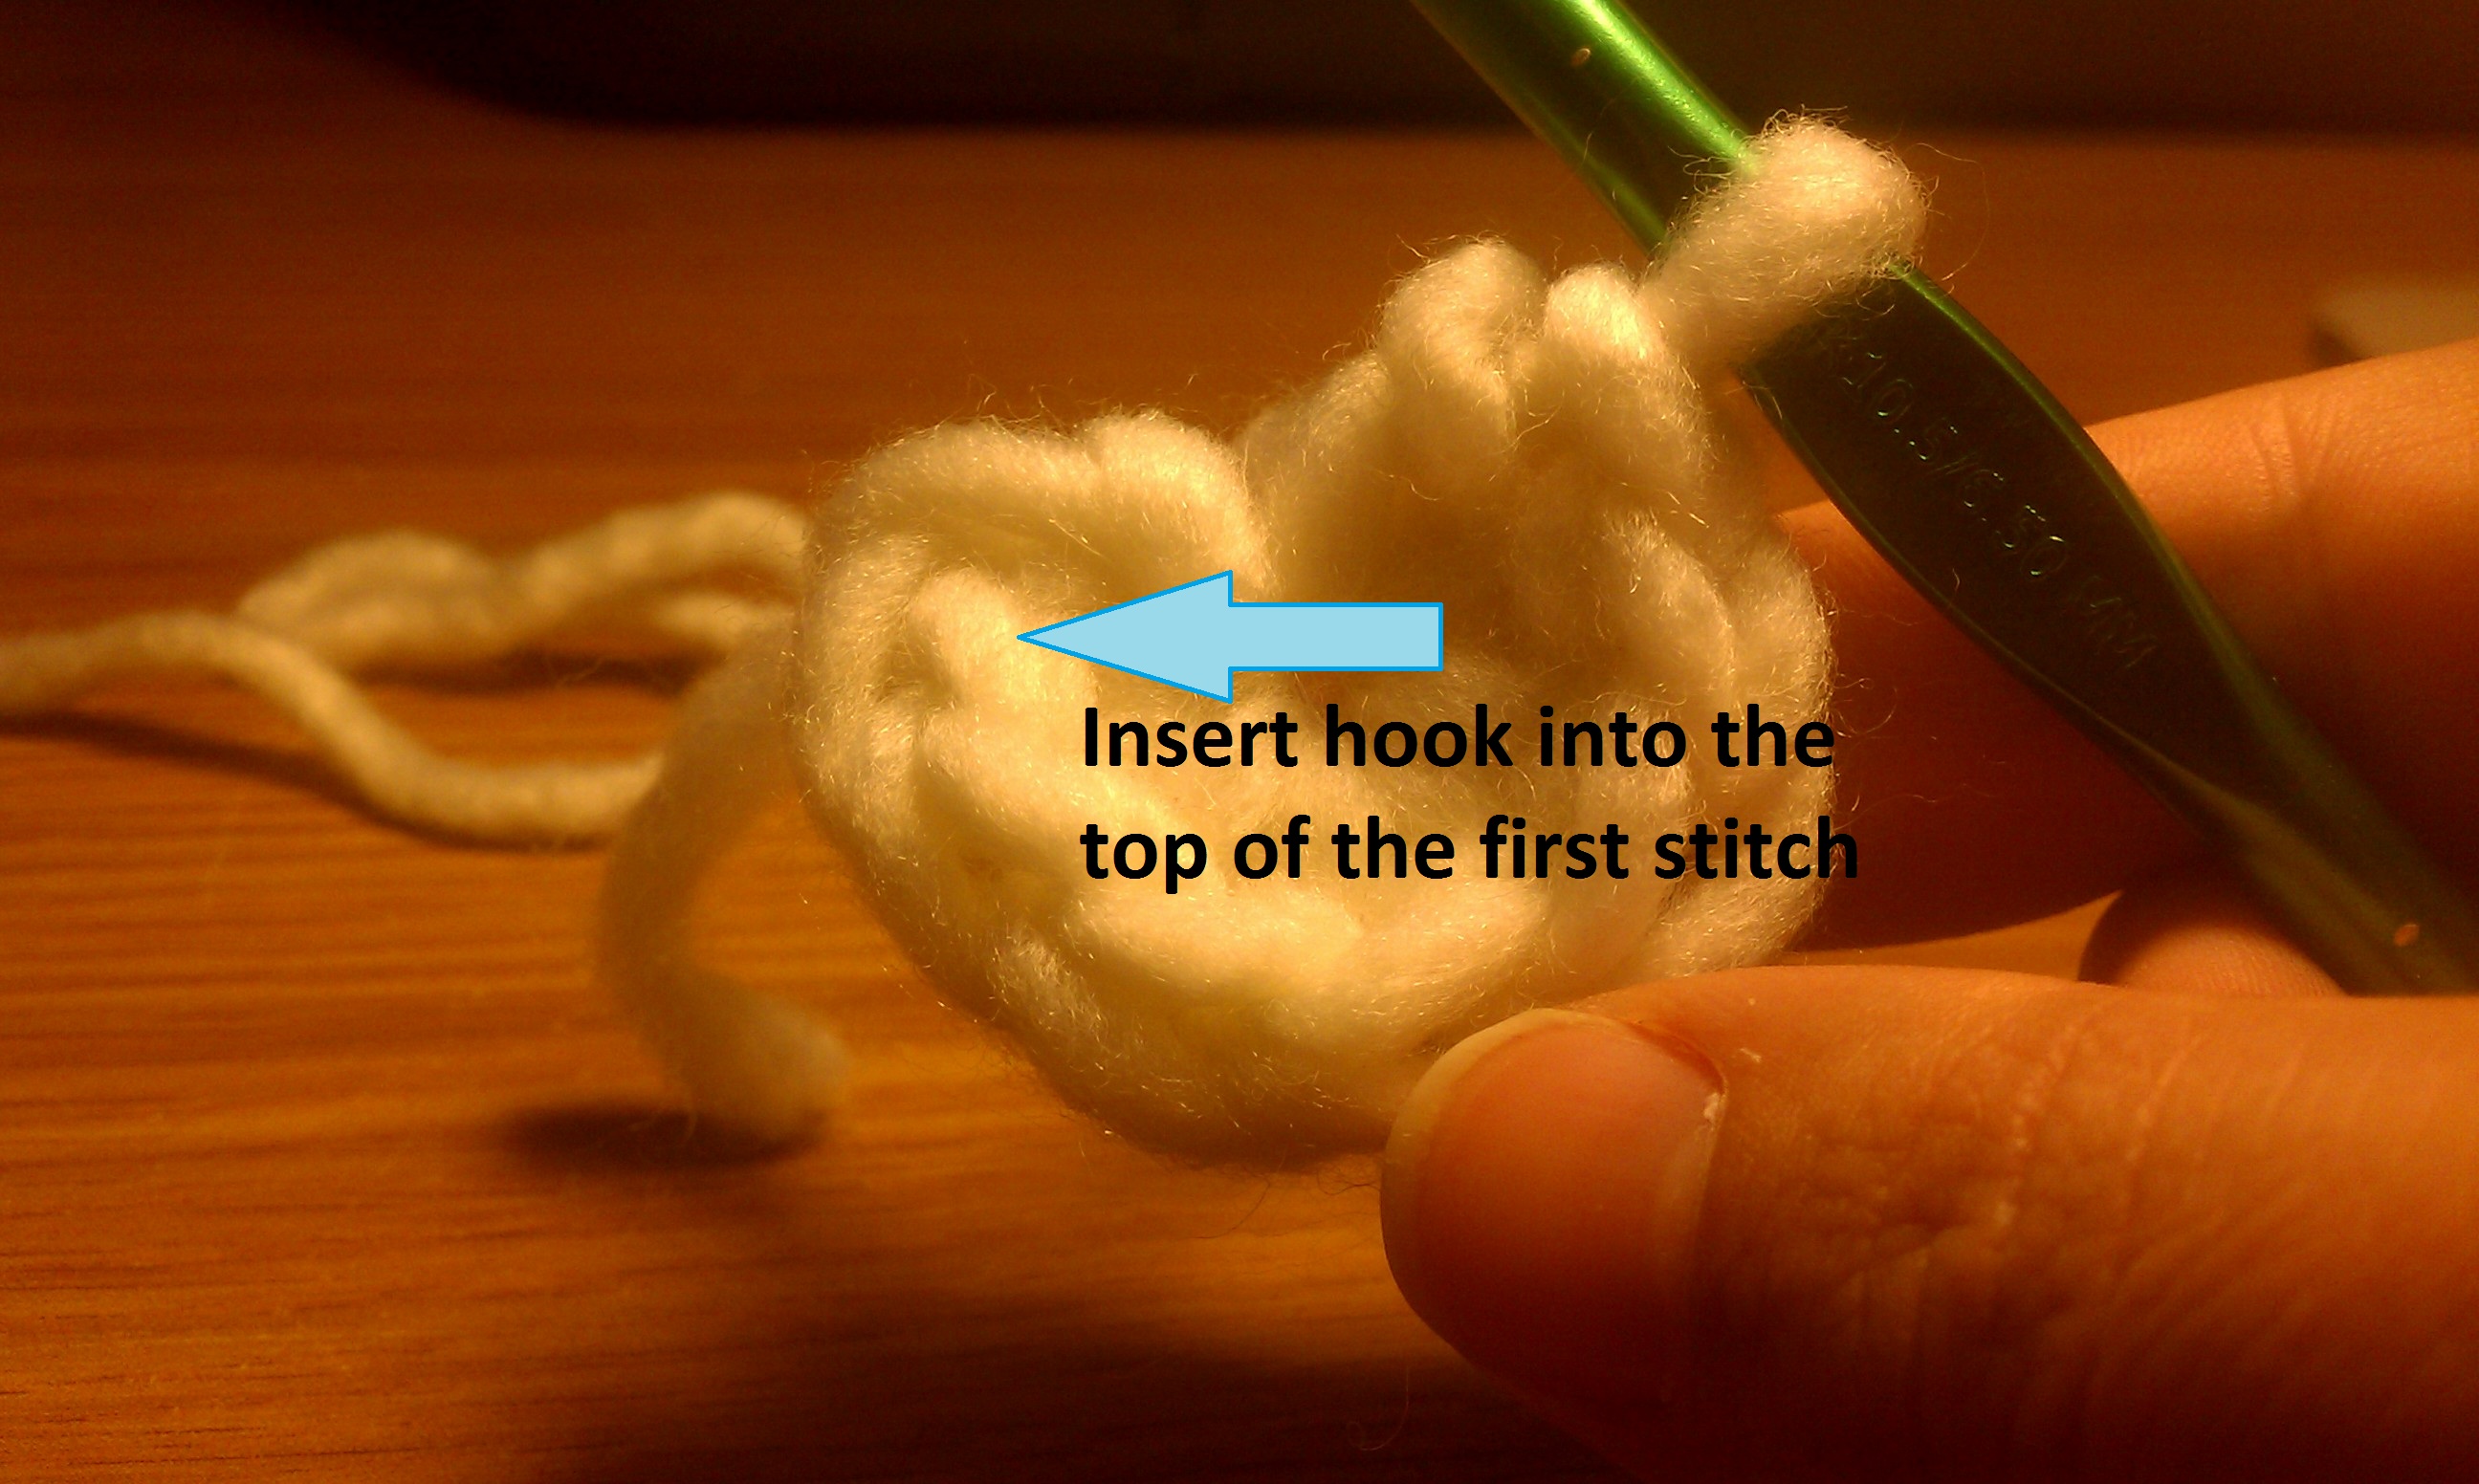


Round 2. Hdc into the same st as the slst. 2 hdc in each st around (incr). Slst to the top of the first stitch to join, ch 2 (16)
Round 3. Hdc into the same st as the slst. Hdc in the next st. **Hdc, incr, repeat from ** 6 more times. Slst to join, ch 2 (24)
Round 4. Hdc in the same st as the slst. Incr, **Hdc in the next two stitches, incr, repeat from ** 6 more times. Slst to join, ch 2 (32)
Round 5. Hdc in the same st as the slst. Hdc in the next 5 stitches, incr. **Hdc in the next 7, incr, repeat from ** 2 more times. When you slst to join, put your hook into the top of the first st of the round, drop color A. Yarn over with color B
 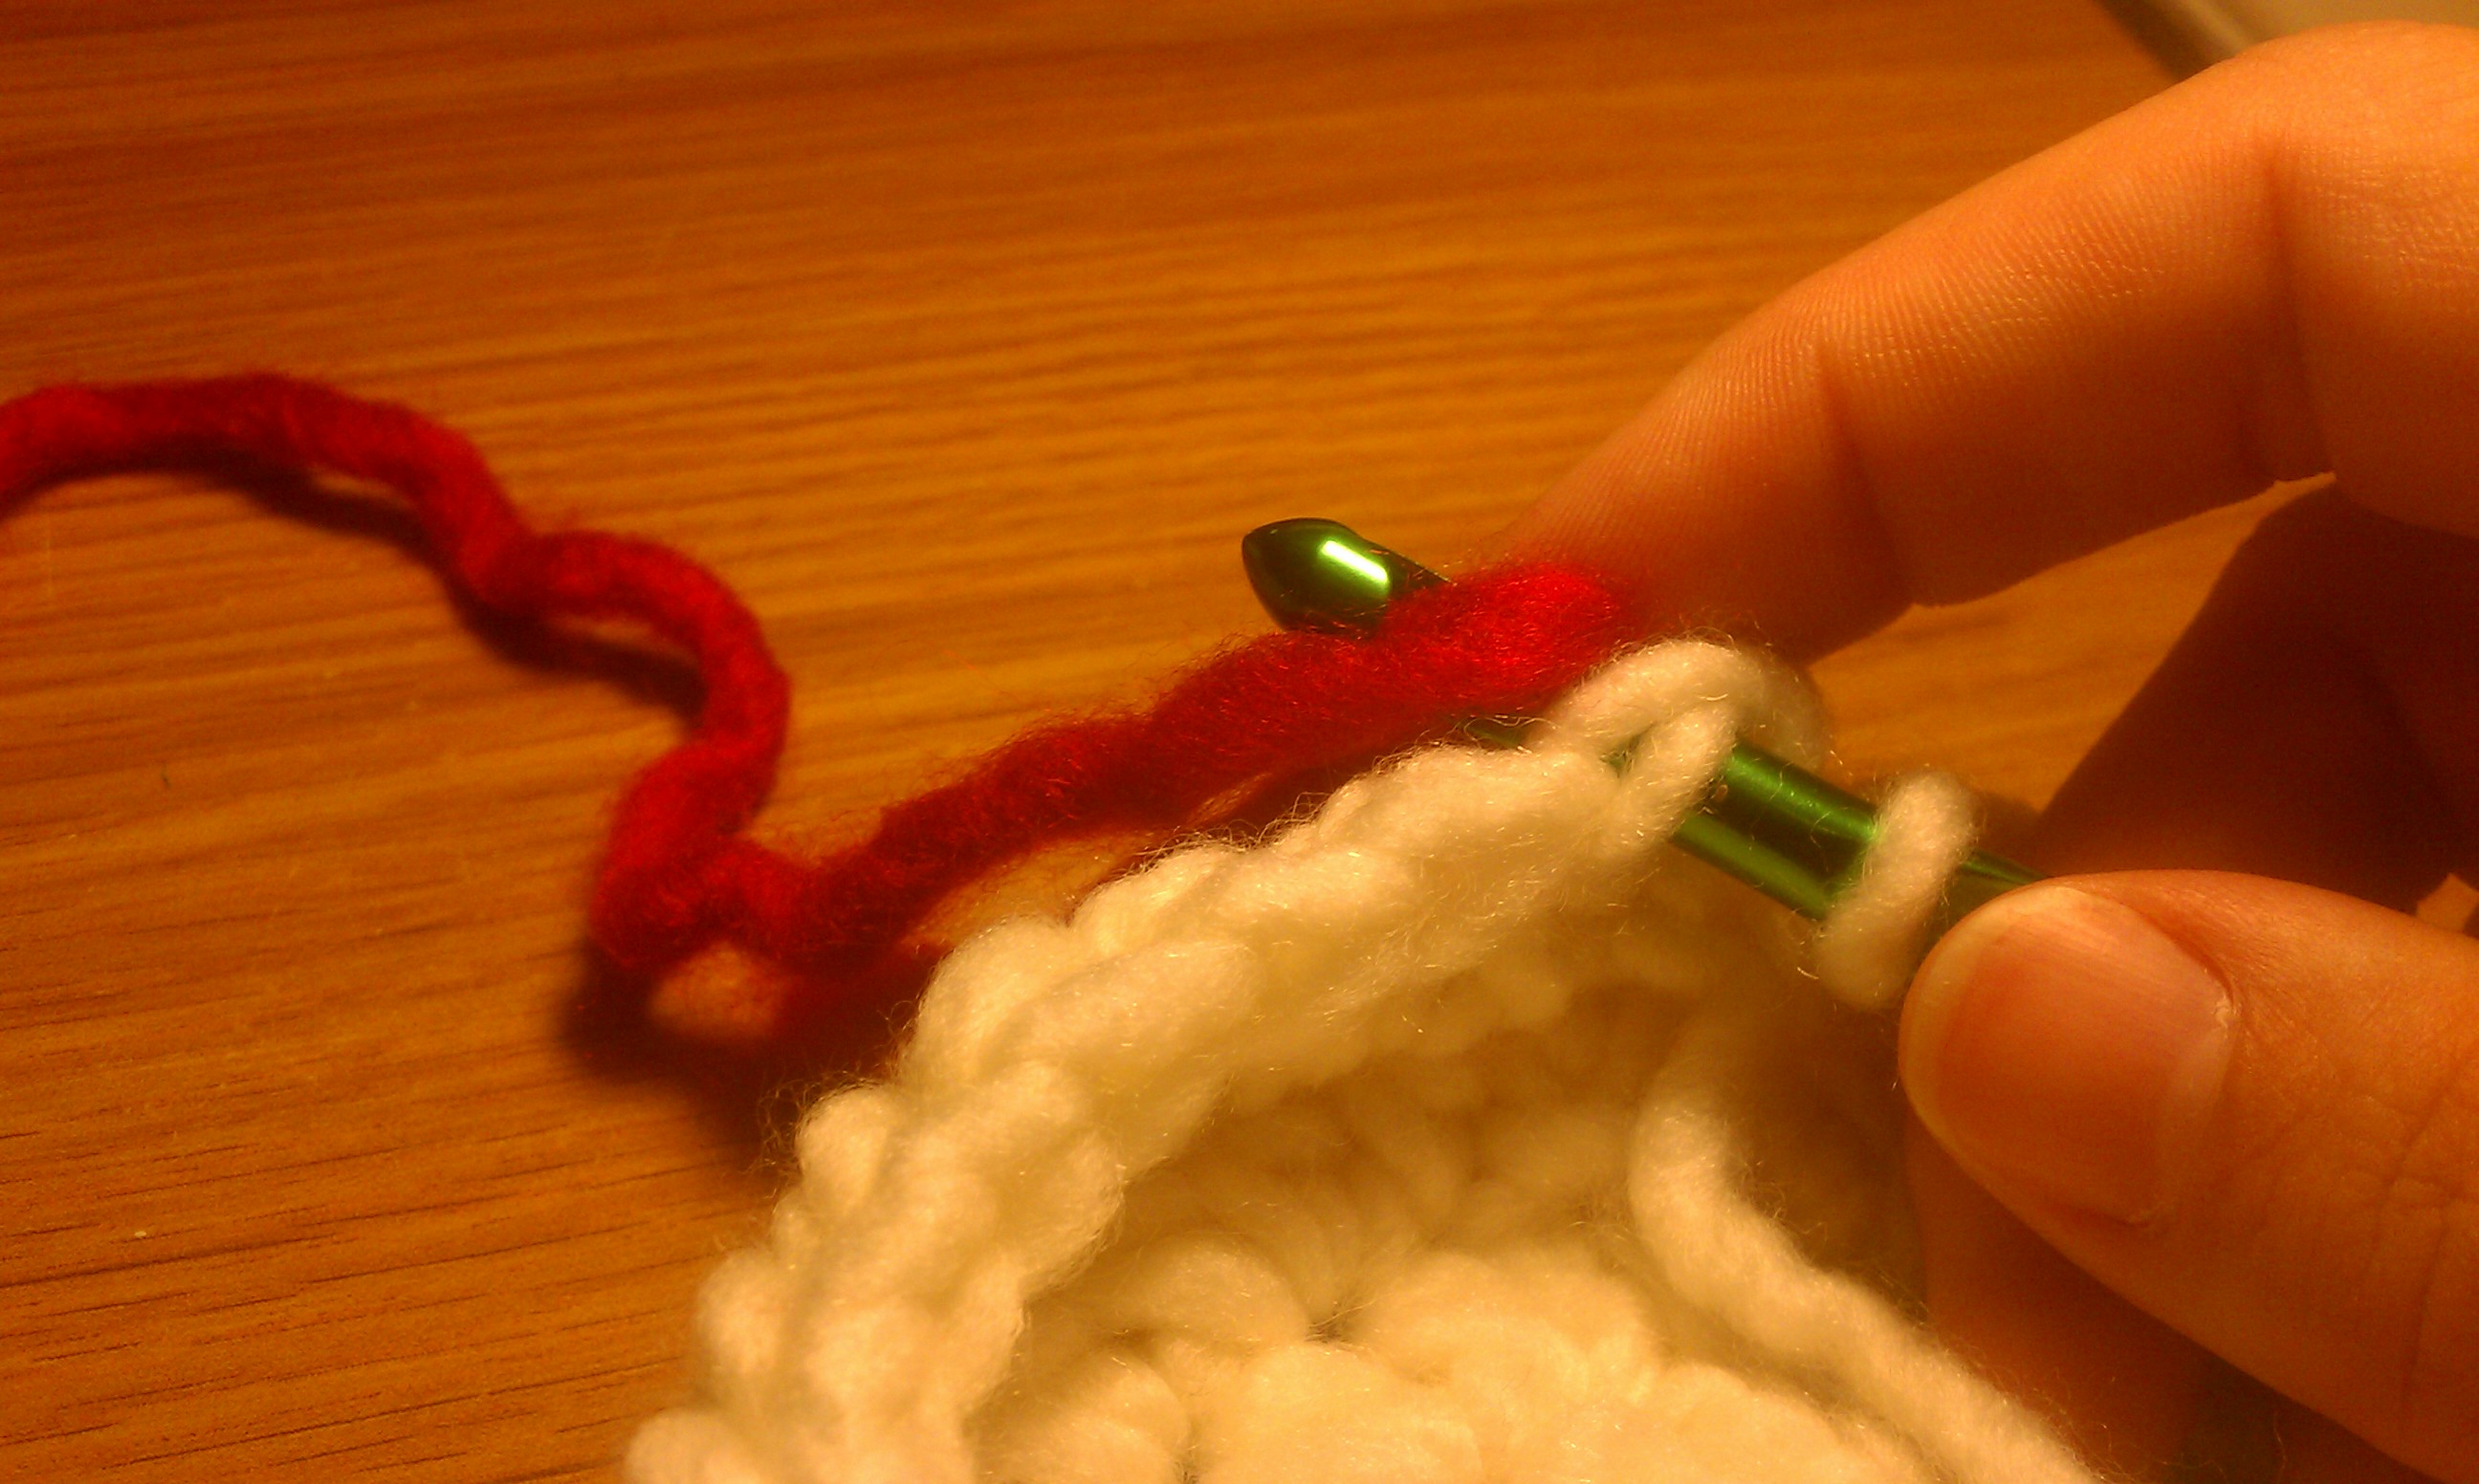 and pull through all loops.
  Ch 2. (36)
  Do not cut color A (http://www.youtube.com/watch?v=LQ7i21qW2d8 This video will give you an idea of how to change colors and carry them back up later.)
Round 6. Hdc around, slst to join, ch 2. (36)
Round 7. Hdc around. When you slst to join, put your hook into the top of the first st of the round, drop color B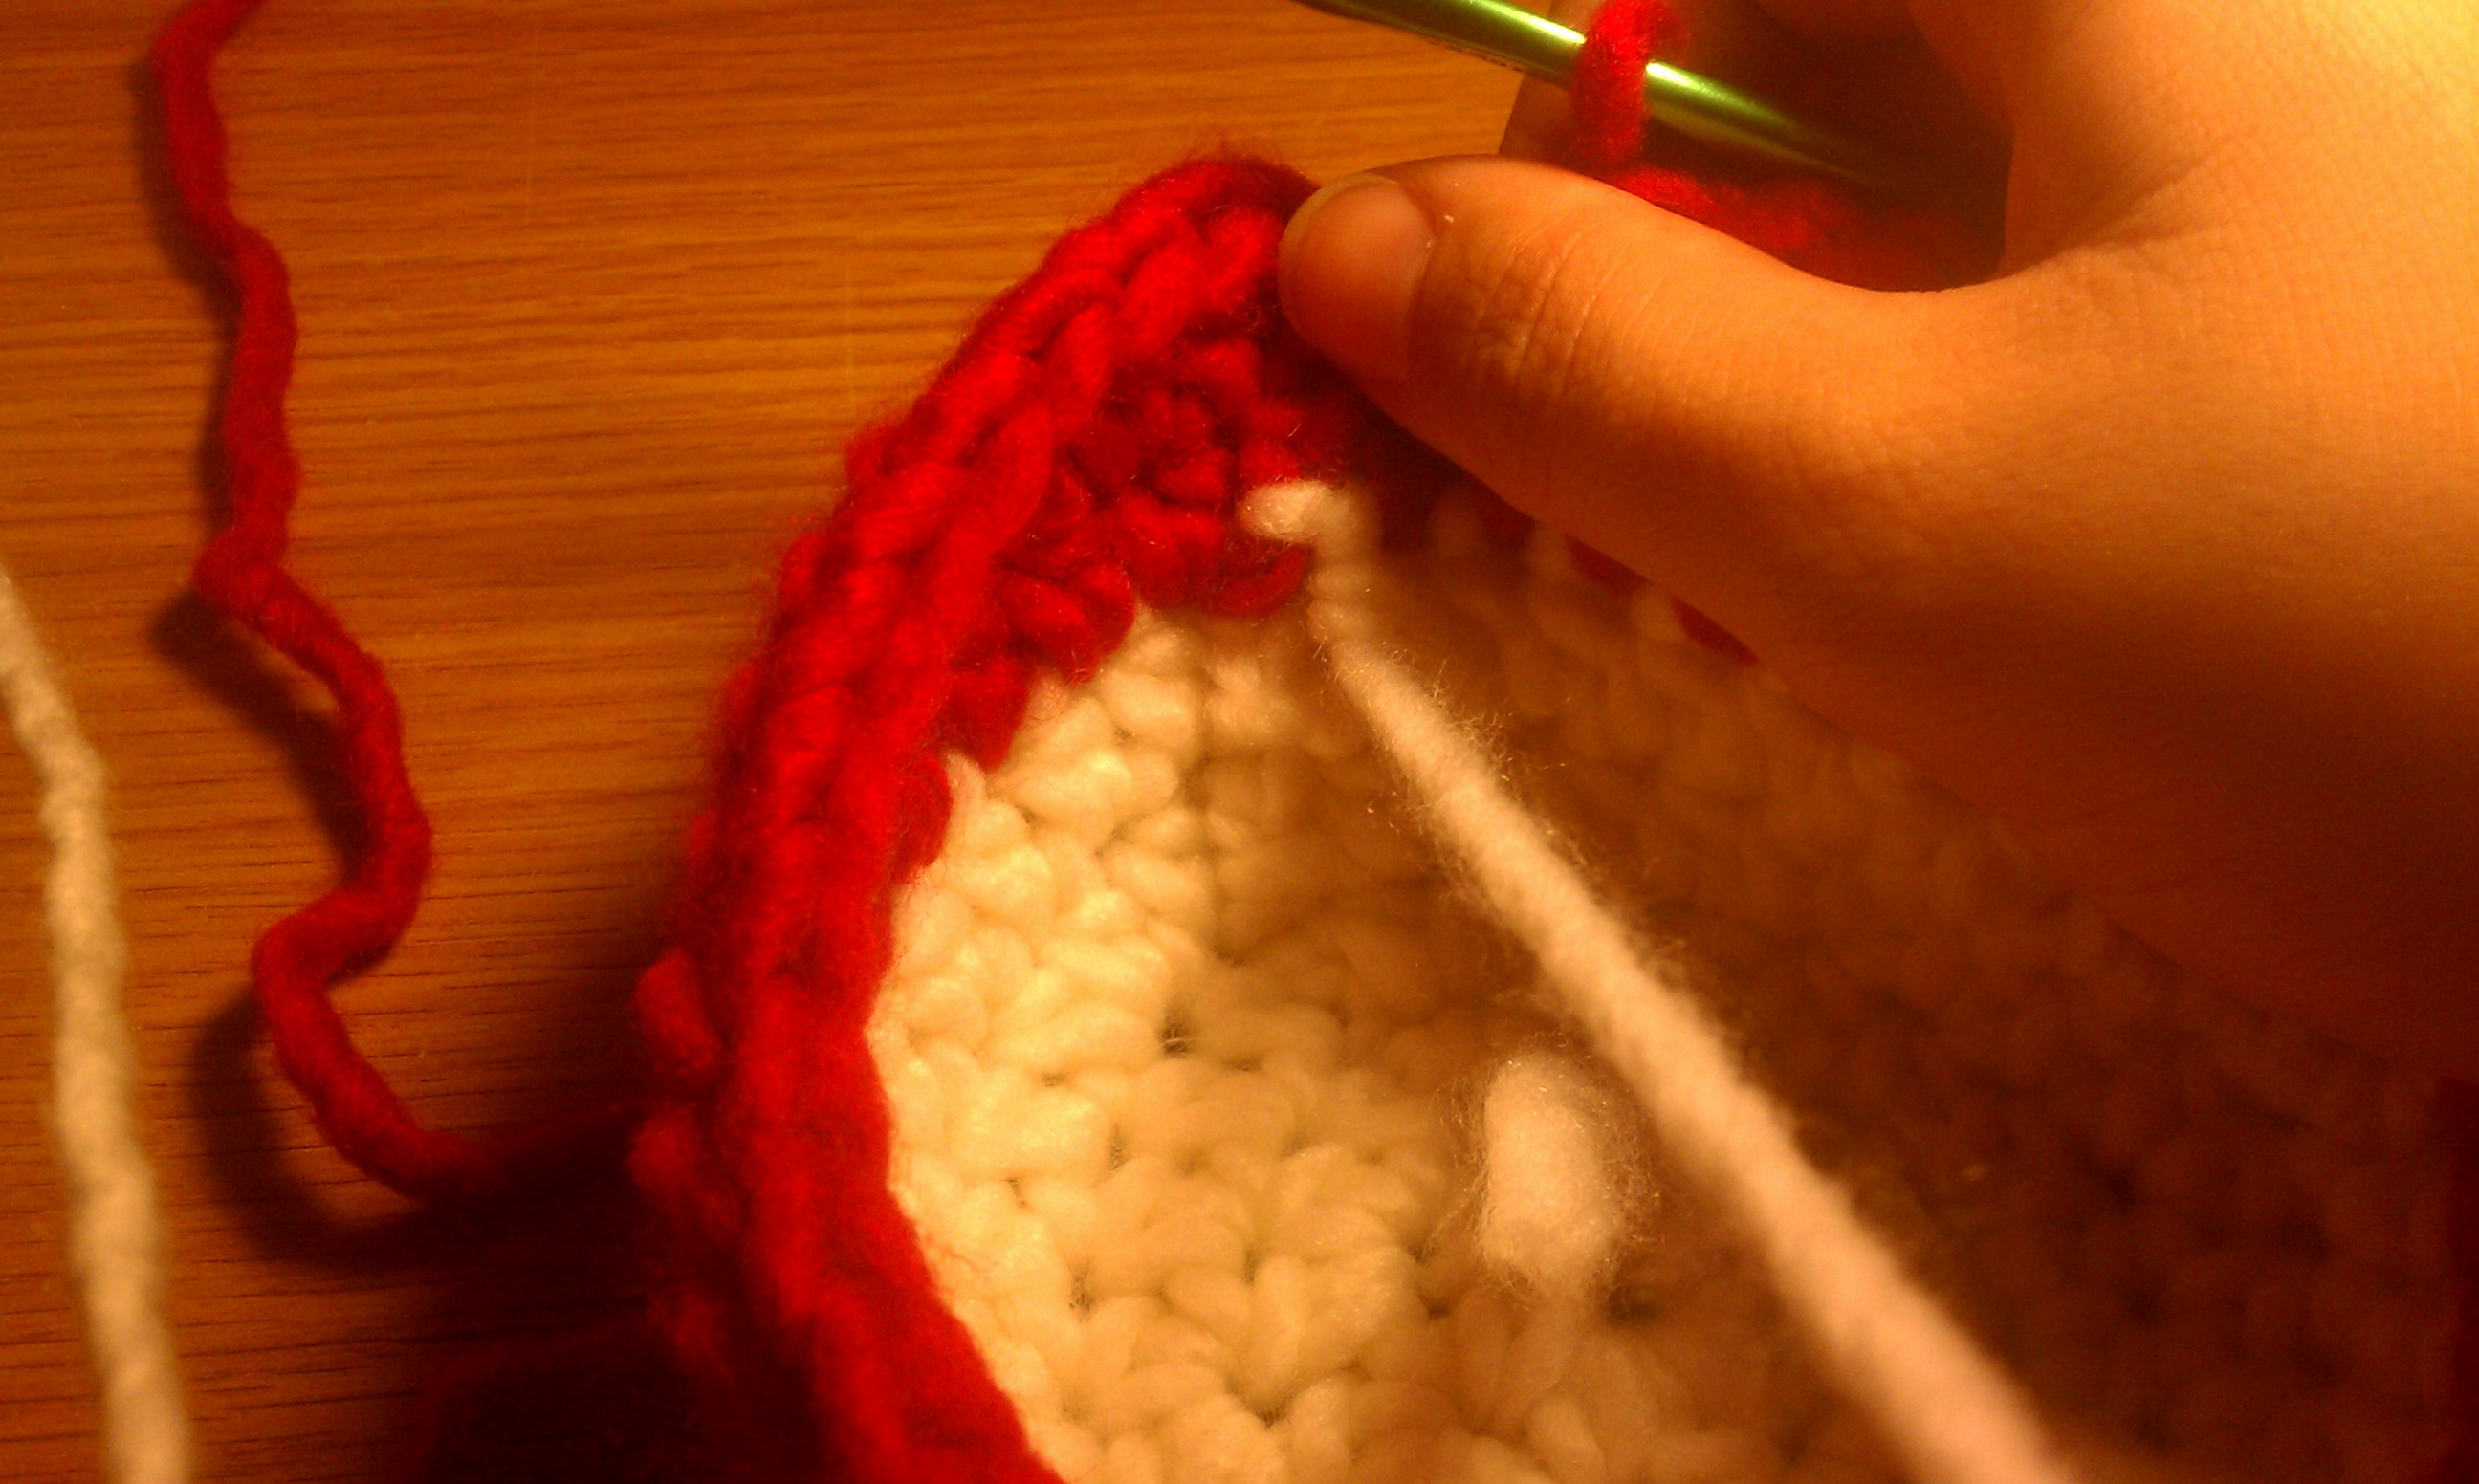 . Yarn over with color A,
 and pull through all loops. Ch 2. (36)
Round 8. Hdc around. When you slst to join, put your hook into the top of the first st of the round, drop color A. Yarn over with color B, and pull through all loops. Ch 2. (36)
Round 9. Hdc around, slst to join, ch 2. (36)
Round 10. Hdc around. When you slst to join, put your hook through the top of the first st of the round, drop color B. Yarn over with color C and pull through all loops. Ch 2. (36)
Rounds 11-12 Hdc around, join and fasten off (36)
You can cut all of your yarn, now. Make sure you pull them tight enough that the seam isn’t obvious, and then sew the tails into the hat to secure them.
Ears (working from the bottom u p; make 2):
Using color A, ch 3.
Row 1: 1 hdc in the last st from the hook, ch2, turn. (1)
Row 2: Inc  , ch 2, turn. (2)
Row 3: Hdc, incr, ch2, turn. (3)
Row 4: Hdc, incr, hdc, ch2, turn. (4)
Row 5: Hdc, hdc, incr, hdc, ch 2, turn. (5)
Row 6: Hdc, hdc, incr, hdc, hdc, ch2, turn. (6)
Row 7: Hdc, hdc, hdc, incr, hdc, hdc, ch 2, turn. (7)
Rows 8-17: Hdc across (7)
Row 18: Hdc in the first 6 stitches, yarn over and put your hook into the last stitch. Yarn over and pull through the stitch. Using color B, yarn over and pull through all three loops. Ch 2 and turn (7)
Rows 19-21 Hdc across (7)
Row 22: Hdc, hdc, dec, hdc, hdc, hdc (6)
Row 23: Hdc, hdc, dec, hdc, hdc (5)
Row 24: Hdc, hdc, dec, hdc (4)
Fasten off.
Using color C, sc around the edges of the ears, starting from the top (color B). Attach ears to the top of the hat.
|
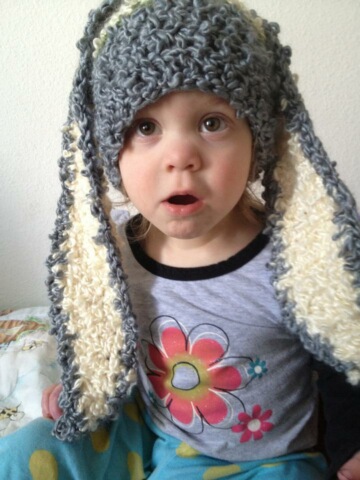
were done with Lion Brand Silky Twist, and Lion Brand Homespun yarns. While they look adorable, they are not 2 year old friendly. The yarn is easy to tear apart (which we learned the hard way), so choose your yarn wisely ;). |

*** This is a pattern I have created. You are more than welcome to sell the hats you produce from this pattern, but I do ask that if you do share this pattern with anyone else, that you do link back to this pattern when selling the products.

I so want to try this! It is adorable!!
There’s a downloadable PDF on ravelry.com. http://www.ravelry.com/patterns/library/funny-bunny-hat-2
I would love to see it!!